Samsung Dryer Repair Dryer Noise
Samsung dryers are famous for several problems. "My Samsung dryer is making a lot

Gas Dryer Repair – Dryer Won’t Start or Makes a Noise
DIY Gas Dryer Repair - How to troubleshoot and Repair Gas Dryer Won't Start,

Dryer Won’t Turn On
Dryer Won't turn on? Clothes dryers are fairly simple machines, here's a few things
Guía Lavadora Whirlpool Duet Reparación
Así que su lavadora de Duet tiene un gremlin ?! Bueno eso sucede, un

Whirlpool Duet Washer Diagnostics
How to use the Whirlpool Duet washers diagnostics mode to troubleshoot your washers problem.
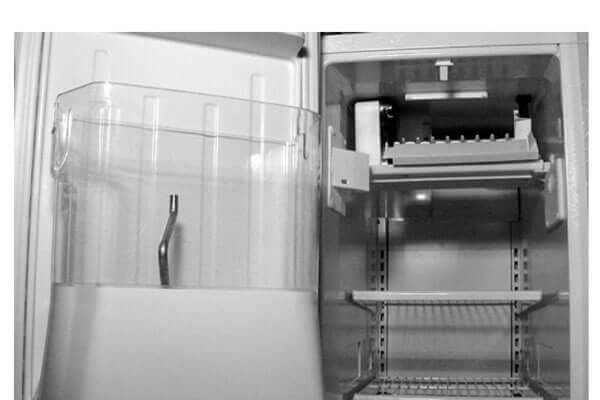
Whirlpool In-Door Ice Maker Repair
Learn how to fix problems with Whirlpool's door mounted ice bin, ice maker!

Repair Or Replace Your Refrigerator
To repair or not to repair... That is the question when your refrigerator is
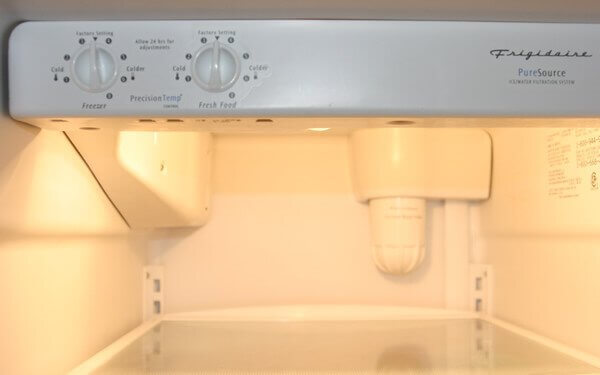
Frigidaire SXS Refrigerator Forced Defrost
Refrigerator defrost problems are very common, and fairly easy to fix. This Frigidaire refrigerator
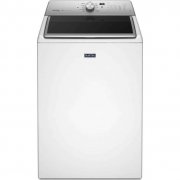
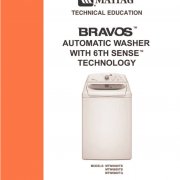
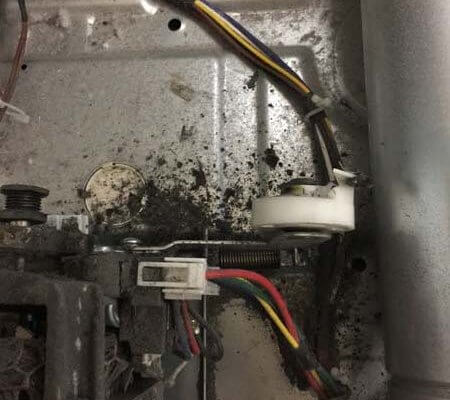
Whirlpool Cabrio Washer Repair Guide
Learn How to fix problems with the very popular Whirlpool Cabrio magnetic drive washer.
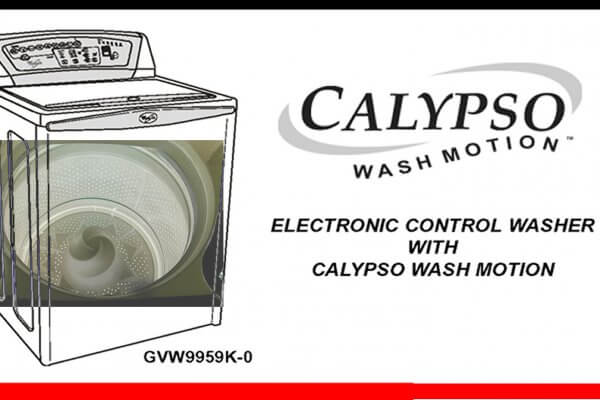
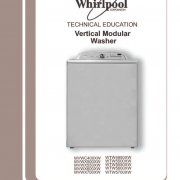
Whirlpool Calypso Washer Repair Guide
Calypso washer problems? Learn how to fix them!
Whirlpool Duet Washer Repair Guide
Whirlpool Duet Washers Come in 3 Mechanical Styles. Figure out Which Duet Washer You

All About Refrigerator Water Filters
Water filters have transformed the way we consume water. Drinking from the hose was